Let me be blunt with you. Most people who end up with a lemon had no idea they were buying one. They walked around the car, took a short drive, decided it “felt right,” and handed over thousands of dollars. That approach works fine right up until it doesn’t, and when it doesn’t, the entire cost lands on you.
Here is the good news: you do not need to be a mechanic to dodge the worst used car disasters. With a methodical checklist, you can spot hidden accident damage, flood history, odometer fraud, and expensive mechanical problems before you sign anything. Think of it like a health checkup before a long-term relationship. The car looks healthy on the surface, but you need to actually dig into the important stuff.
So grab a flashlight, a small magnet, and a quarter, and let me walk you through exactly what to check, phase by phase. This takes under an hour and could save you thousands. Quick note, prices and specifics vary by car and location, and this guide is general information, not personalized advice.
Phase 0: Homework Before You Even Show Up
The best inspection starts from your couch. These checks qualify or disqualify a car before you waste a trip.
- Run a VIN history report. This is non-negotiable. Pull a Carfax or AutoCheck report, which costs around $40 and reveals accident history, title problems across states, reported mileage at each service event, and odometer rollback flags. A clean report is a positive signal, not a guarantee, since some accidents never get reported, but a dirty one saves you an entire category of heartbreak.
- Check the title type. Confirm the car has a clean title, not salvage, flood, rebuilt, or otherwise branded. A branded title tanks resale value and can hide serious damage.
- Sanity-check the mileage. Average annual mileage runs about 10,000 to 15,000 miles, so a 2018 model should show roughly 80,000 to 120,000. Anything far above 20,000 a year or below 5,000 deserves a “why?”
- Research the market value. Compare similar cars by year, mileage, trim, and condition so you know a fair price before you fall in love.
Phase 1: The Exterior Walkaround
Inspect in daylight on a dry day, because floodlights and rain make cars look shiny and hide defects. Ask the seller to park on a level surface.
- Panel gaps. Check the spacing between adjacent panels, hood to fender, door to door. Factory gaps are perfectly even top to bottom. Uneven gaps signal collision repair.
- Paint match and repaint clues. The color and finish should match on every panel. Look for overspray, sanding marks, or paint on the rubber seals around the hood and trunk, all signs of a repaint hiding bodywork.
- The magnet test. A small magnet won’t stick firmly over body filler. Run it along panels, and if it slides or won’t grip in spots, someone patched a dent with filler.
- Rust. Surface rust is often cosmetic, but deep corrosion around wheel wells, rocker panels, and structural undercarriage points means expensive trouble. Bring the flashlight and look underneath.
- Glass and lights. Check the windshield for chips that could spread, and inspect all lights for fogging or cracks.
Phase 2: Tires and Brakes
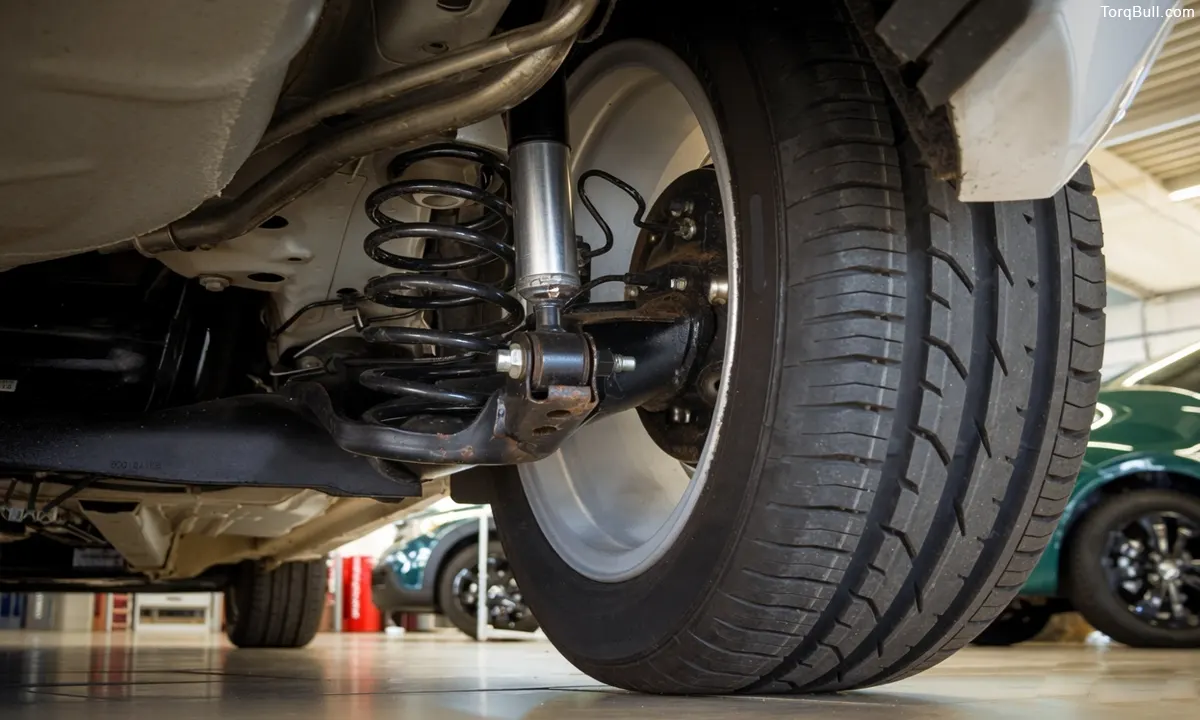
These directly affect safety and represent big near-term costs if they’re shot.
- Tread depth, the quarter test. Insert a quarter into the tread with Washington’s head pointing down. If you can see the top of his head, the tire has less than 4/32 inch of tread and needs replacing within a year. Use a penny for the urgent check: if Lincoln’s whole head shows, the tire is legally worn out.
- Tire age. Find the DOT number on the sidewall. The last four digits are the manufacture date, week then year. Tires over six years old degrade even with good tread, so old rubber means a hidden replacement cost.
- Wear patterns. Uneven wear across a tire points to alignment or suspension problems, which are pricier than the tires themselves.
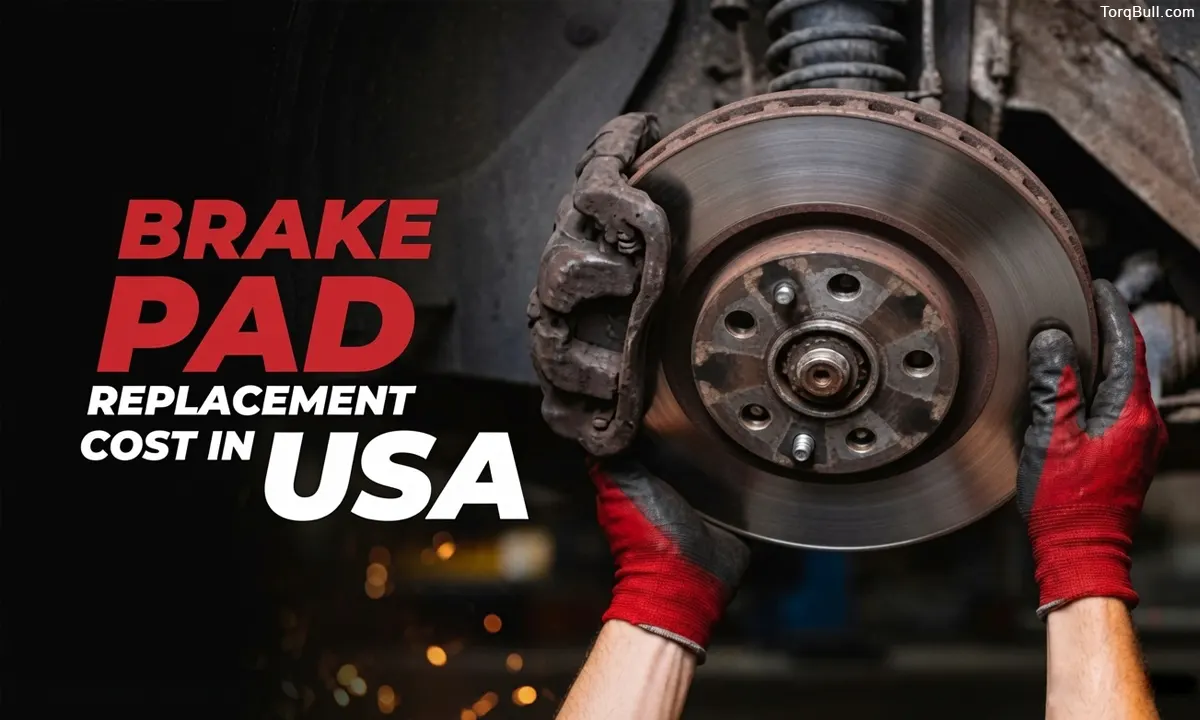
- Brake pads. Peek through the wheel spokes to gauge pad thickness. Thin pads or deep grooves in the rotor mean a brake job is coming.
Phase 3: Under the Hood
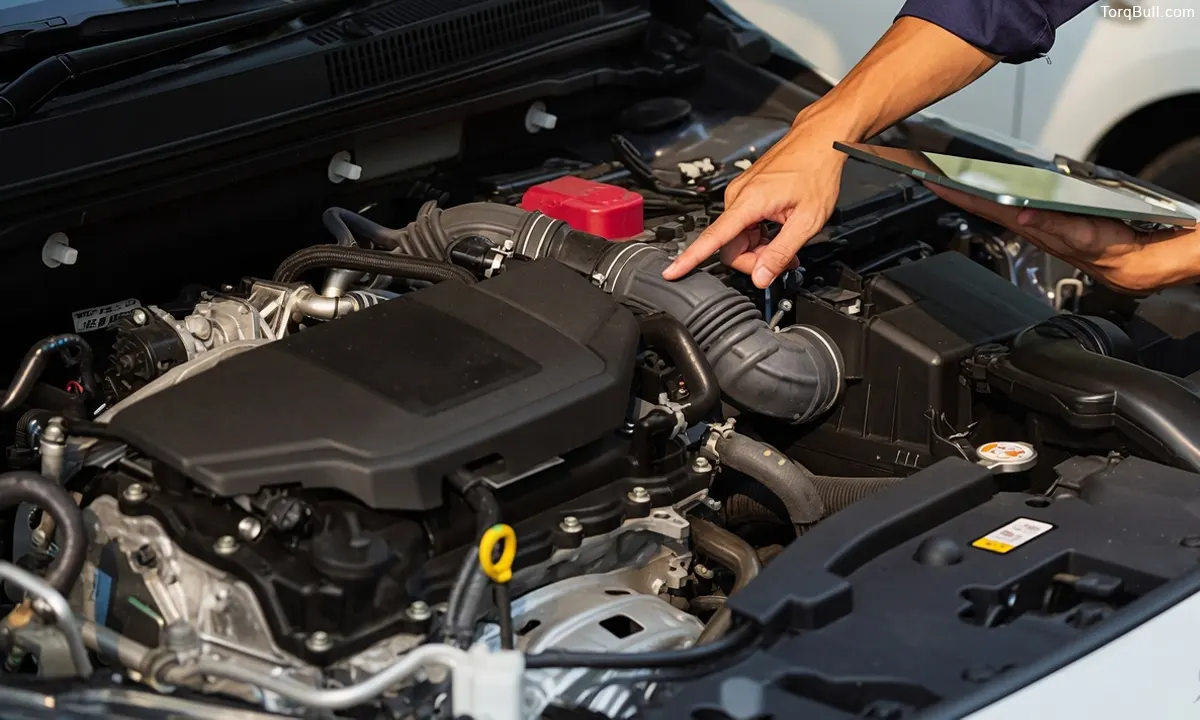
Ask the seller not to drive the car for at least an hour before you arrive, so you can start it cold and check fluids accurately.
- Engine oil. Pull the dipstick. Clean, honey-to-brown oil is good. Dark and gritty suggests neglect. Milky or foamy oil is a red flag for coolant intrusion and a possible blown head gasket.
- Transmission fluid. If accessible, it should be pinkish and odorless. Dark, burnt-smelling fluid signals a hard-worked or failing transmission, one of the most expensive repairs there is.
- Coolant. Check the level and color, and look for oil contamination, another head gasket warning sign.
- Belts, hoses, and battery. Inspect belts and hoses for cracks and wear, and check battery terminals for corrosion.
- Leaks and repaint clues. Look under the car for puddles, and scan the engine bay for mismatched or freshly painted components that hint at past repairs. Confirm the VIN stamped in the bay matches the title.
Phase 4: The Interior
The cabin reveals both quality-of-life issues and serious problems like water damage that are expensive to fix and easy to miss.
- Every electronic, individually. Power window motors, lock actuators, and mirror motors fail quietly and cost $150 to $400 each. Roll every window down and up from the driver’s controls, then from each door’s own switch. Test locks from all positions.
- Climate and audio. Run the AC and heat through their full range, and check the stereo and speakers.
- Warning lights. When you turn the key, dashboard lights should illuminate and then go out. If a light never comes on at all, someone may have disabled it to hide a problem.
- Odors and water damage. A musty or moldy smell screams flood or leak. Lift the carpet and check under the seats and in the spare-tire well for damp, rust, or mismatched replacement carpet.
- Odometer sanity check. Compare the odometer to the wear. A heavily worn steering wheel, pedals, and seat on a supposedly low-mileage car is a classic rollback tell.
Phase 5: The Test Drive (Don’t Skip This)
This is where hidden problems finally show themselves. Drive it like you’ll own it.
- Cold start. Start the engine cold and listen for knocking, tapping, or hissing.
- Exhaust smoke. Watch the tailpipe on startup and acceleration. Blue smoke means burning oil, white means a coolant or head gasket leak, black means a fuel problem.
- Acceleration and transmission. Hesitation or lack of power hints at fuel or sensor issues. The transmission should shift smoothly without jerking, slipping, or hesitating between gears.
- Steering and brakes. The car should track straight without pulling. Test the brakes at several speeds. Pulling, grinding, or a vibrating pedal points to warped rotors or worse.
- Suspension noises. Listen for clunks or rattles over bumps, and get it up to highway speed to check for vibration and wandering.
The EV and Hybrid Bonus Round
If you’re shopping electrified in 2026, add a few checks, because the battery is the most expensive component on the car.
- Battery state of health. Ask for a battery health report and check how much of the original capacity remains. Degradation directly affects range and value.
- Warranty remaining. Most EV and hybrid batteries carry an 8-year, 100,000-mile warranty. Confirm how much is left, since it’s your safety net against a five-figure pack failure.
- Charging function. Verify the car actually charges on both Level 2 and DC fast charging if possible.
The Move That Ties It All Together: The PPI
Your DIY inspection tells you whether to proceed. A professional pre-purchase inspection tells you what you’re actually buying.
- Get one for any car over $5,000. An independent mechanic puts the car on a lift and reveals frame damage, subframe repairs, and underbody issues that are impossible to see from ground level.
- Choose your own mechanic, never the seller’s. You want an unbiased opinion, not someone with a stake in the sale. Expect to pay roughly $100 to $200 for a basic-to-comprehensive inspection, with a written report and photos.
- Walk away if the seller refuses. A seller who won’t allow a test drive or an independent inspection is telling you something. Believe them.
Read: The Real Cost of Keeping a Car on The Road In US
Quick-Reference Red Flags
Here are the deal-breakers worth memorizing.
| Red Flag | What It Signals |
| Uneven panel gaps, magnet won’t grip | Hidden collision repair or body filler |
| Musty smell, damp carpet | Flood damage |
| Milky oil or coolant | Blown head gasket |
| Worn pedals on “low-mileage” car | Odometer rollback |
| Salvage, flood, or rebuilt title | Serious past damage, low resale |
| Seller refuses PPI or test drive | They’re hiding something |
Verdict: An Hour Now Saves Thousands Later
So there’s your complete used car inspection playbook. Yes, it takes time. Yes, a professional inspection costs a couple hundred bucks. And yes, it is worth every single minute and dollar when it saves you from a lemon.
Here’s the mindset that makes it all work: analyze the car like a mechanic, not like a hopeful buyer. Fall in love with the deal, not the car, because there is always another car. Run the VIN report before you drive out. Work the exterior, tires, engine bay, interior, and test drive methodically. Add the battery checks if it’s electrified. Then hand it to an independent mechanic for the PPI that confirms everything you found.
And when the inspection turns up issues, as it usually will on a used car, you have three moves: negotiate the price down by the cost of the repairs, ask the seller to fix them first, or walk away. That $500 brake job should come straight off the price. And if a $12,000 car needs $5,000 in work, it was never the deal you thought it was.
The difference between a smart purchase and a money pit almost always comes down to whether someone took the time to inspect properly. Now you know exactly how. Grab your flashlight, your magnet, and your quarter, take your time, and buy with confidence. The right car is absolutely out there, and it’s worth waiting for. Happy hunting.